Nodefender Windows 10
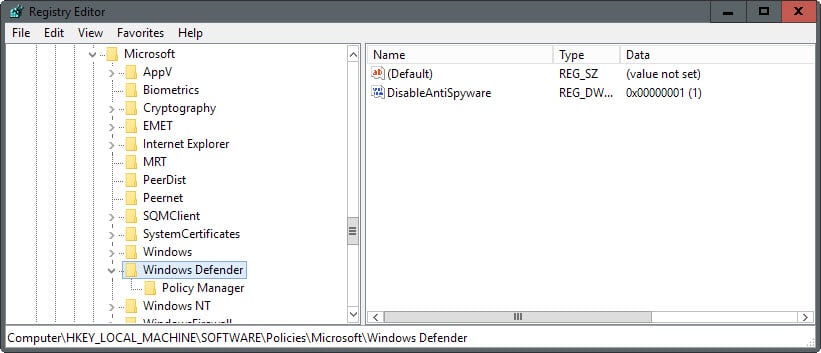
Mar 8, 2018 - How To Disable Windows Defender Permanently In Windows 10 While there is an option to turn off real-time protection of Windows Defender,. NoDefender - Disable Windows Defender in Windows 10 with a few clicks - Many people complain that Windows 10 requires them to use Windows Defender, and there is no way of off.
I'm running a huge sync job and Microsoft Windows Defender is hogging a ton of memory and creating a lot of disk I/O requests on my drive as well. I know how to disable Windows Defender but I do not want to reboot my PC while this sync in going on to disable it.
I also turned off real-time protection but that did not accomplish freeing the memory up like I expected. Download automation studio software. I really just need to stop the MsMpEng.exe application. Is it possible to temporarily stop Windows Defender application and then start it again without needing to reboot the PC? A Step-by-Step Guide to Temporarily Disabling Windows Defender and then Re-Enabling it on Windows 10 Initial One-Time Setup #1 - #4 per PC 1.
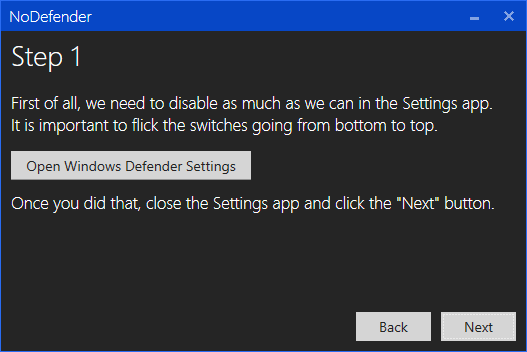
Make a Windows Defender Folder Exclusion • First to start, create a new folder on your 'C' drive or somewhere you can access and name it DefenderExclusions. Reshebnik po fizike posobie dlya podgotovki k ct kapeljyan. • Press the Windows Key one time, start typing ' Windows Defender' and click it once you see it. • From Windows Defender click on Settings • Go to Windows Defender and in the Exclusions area click the ' Add an exclusion option' • Click the ' Exclude a folder' option • Select the DefenderExclusions folder location you created above when the Select Folder window opens and then select the ' Exclude this folder' option 2. • Download the and it should save as a zip file named NoDefender.zip.

• Open the NoDefender.zip file and then right-click and select Copy on the file within it named NoDefender.exe • Go to the DefenderExclusions folder location you created and setup the Windows Defender Exclusion, right-click and then paste to save the NoDefender.exe into this folder. Create Disable Defender Script • Save the below logic to a text document in the DefenderExclusions and name it to DisableDefender.cmd DisableDefender.cmd Script @ECHO ON '%ProgramFiles% Windows Defender MSASCui.exe' PING -n 3 127.0.0.1 > nul 'C: DefenderExclusions NoDefender.exe' GOTO:EOF 4. Create Enable Defender Script • Save the below logic to a text document in the DefenderExclusions and name it to EnableDefender.cmd EnableDefender.cmd Script @ECHO ON sc start WinDefend enable PING -n 3 127.0.0.1 > nul NET START 'WdNisSvc' PING -n 3 127.0.0.1 > nul NET START 'WinDefend' PING -n 3 127.0.0.1 > nul '%ProgramFiles% Windows Defender MSASCui.exe' GOTO:EOF Disabling Windows Defender • Double-click the DisableDefender.cmd batch file saved in the DefenderExclusions location setup previously. • When Windows Defender opens, click on the Settings option and be sure the Windows Defender option is selected on the left.
• Turn off Real-Time Protection, Cloud-based Protection, and the Automatic sample submission options. • It is expected to see the warning message pop up in the lower right-hand corner of the task bar indicating that Spyware and unwanted software protection may be disabled with the red X. • You will notice the Windows Defender app screen is more red than green now, the PC Status: At risk is showing, and the Real-time protection is off; just minimize that window for now. • Double-click the NoDefender.exe file previously saved in the DefenderExclusions location. If the User Account Control message pops up select the Yes option to run it • Select Next in the NoDefender app window • Select Next again in the NoDefender app window • Click on the Disable Window Defender option in the NoDefender app window and then select the Next option.